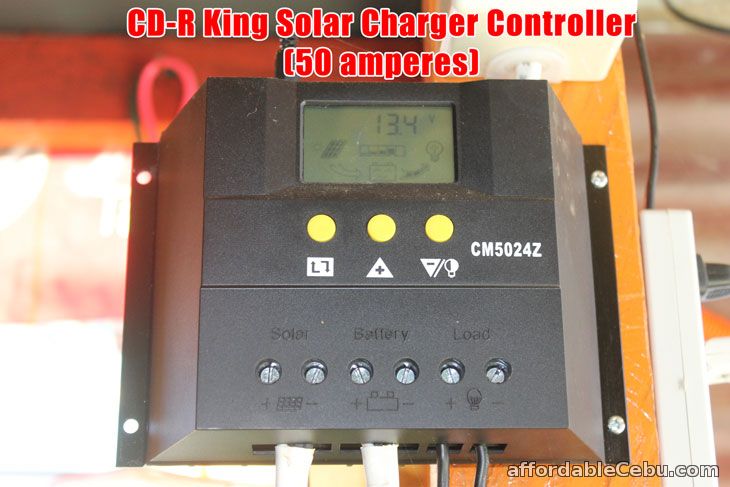
Here's a picture of the CD-R King Solar Charger Controller:

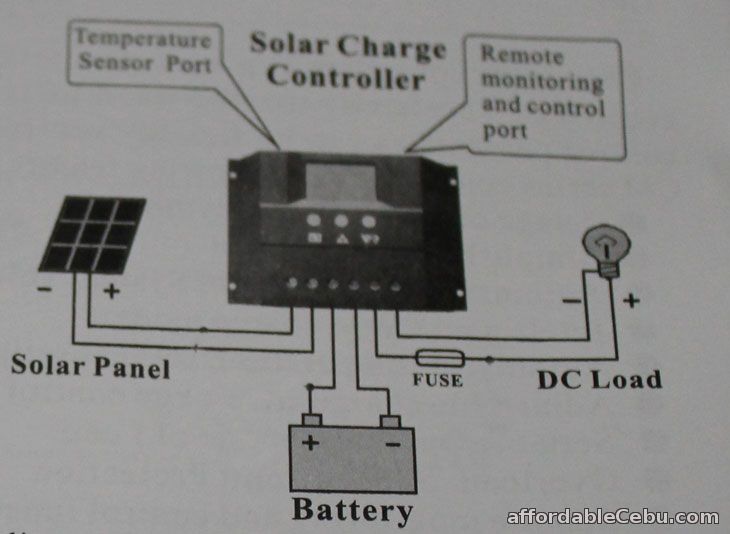
Here's a diagram of a solar-power system set-up with Solar Charger Controller at the middle:

Picture: how to install solar charger controller?
- Solar Panel to the Solar Charger Controller,
- Solar Charger Controller to the Battery
- Solar Charger Controller to Load
It is recommended to use the right cables with current density <4mm² that is conductive to reducing the line voltage drop. Recommended cable is 50A 16mm² diameter.Check whether the installation site is in compliance with the required safety guidelines. Please avoid the damp, dusty, flammable place where there are explosives or corrosive gases.
2. Install the controller into a fixed vertical plane. In order to ensure a good thermal control conditions, please set aside each 10cm below the controller space.
3. Connect the Solar Panel, Solar Charger Controller, Battery and Load according to polarity. Strictly observe same polarity as seen in the photo/diagram above.
4. Put the temperature sensor at the upper-left part of the controller.
5. If you have a remote monitoring and control function, please insert one end of the communication wire on the upper-right part of the controller (communication port). Connect the other end of the wire to the host computer.
Take note: If you connect to different polarity (positive to negative or negative to positive) of the battery, although the controller will not be damaged, but the load equipments will be affected or may be damaged.